台灣牙周補綴醫學會 2010 春季學術活動
posted by Ajou Huang @ 2:43 am
0 comments
![]()
![]()

A tour-crazy periodontist around the World. - I like to drive VOVLE cars and put sweden-made dental implants (Nobelcare & Astra) and live with IKEA furnishes .


 Subscribe to A Periodontal Expert


A professional blog for periodontal disease control and dental implantation. 2nd part click Dental implant professional
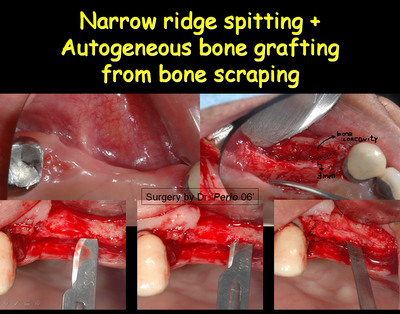
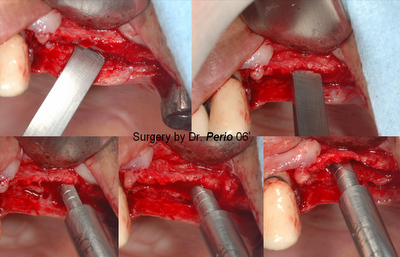
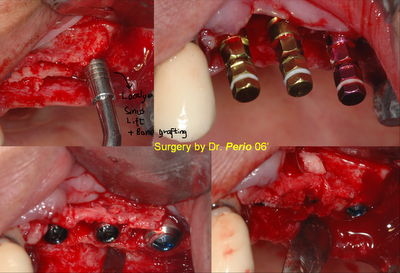
@ A combined dental implantation & ridge spitting + bone grafting from Srcaper (May23, 06') [Bone Scraping with Bone Collec]

 * post suture (10 days after surgery)
 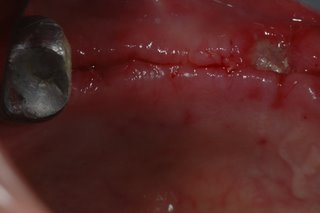 * 2nd surgery on 25,26 sites and additional bone grafting on 24 site(post-implantation 6 months):


posted by Ajou Huang @ 8:12 pm
2 comments
![]()
![]()
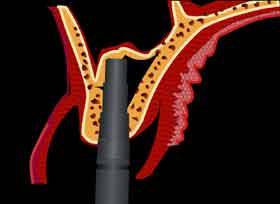
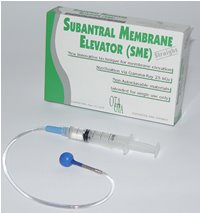 Balloon Subantral Membrane Elevator ( SME )


@ Clinical Appilcation for SME with balloon technique:(by Dr. Perio Apr06')


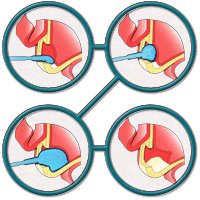
*** 7mm bone height under sinus membrane >> localized elvation to insert 4.8X12mm dental impl.jpg) ant.
ant. .10.jpg)
.1.jpg)
@Detail slideshow description of Balloon Subantral Membrane Elevator
 ...PostSx 1 wk
.14.jpg)
posted by Ajou Huang @ 12:00 pm
4 comments
![]()
![]()
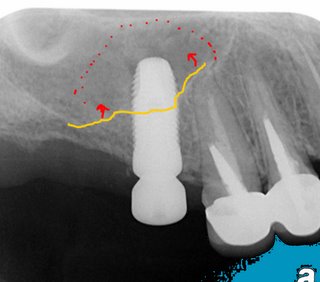
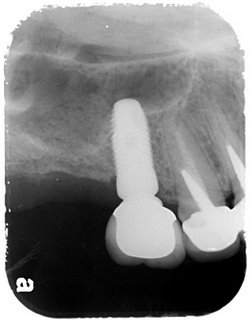
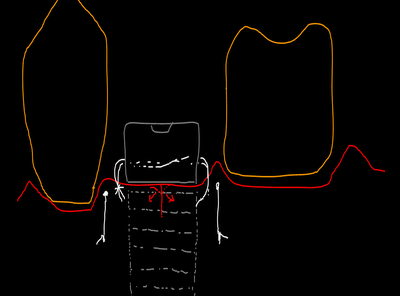
* 2nd Surgery and Final restoration (apical films)


posted by Ajou Huang @ 7:38 am
0 comments
![]()
![]()
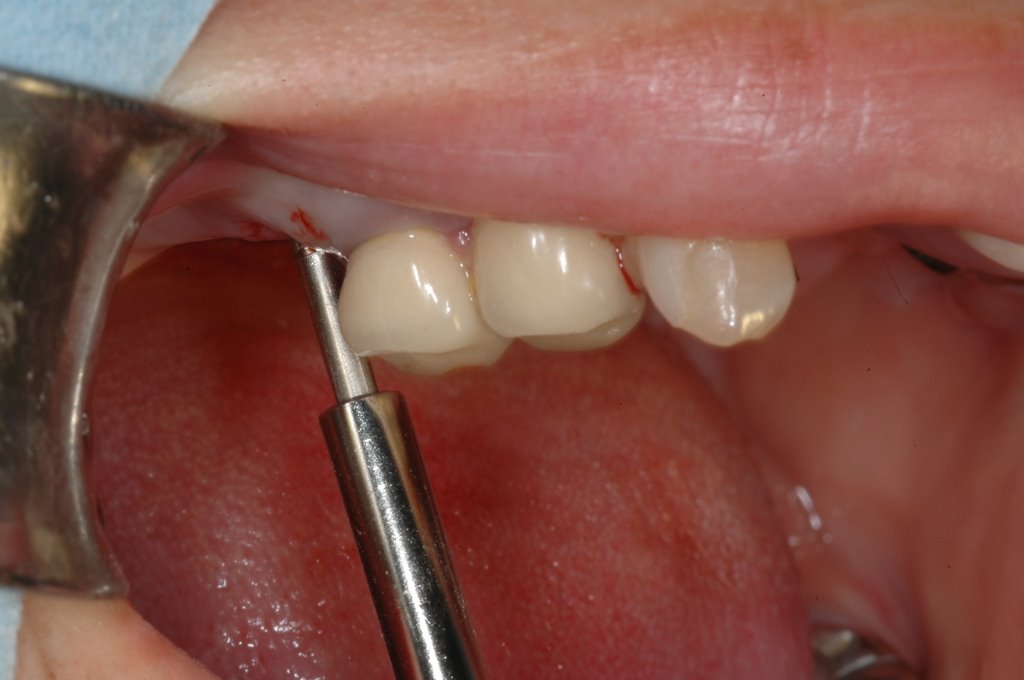
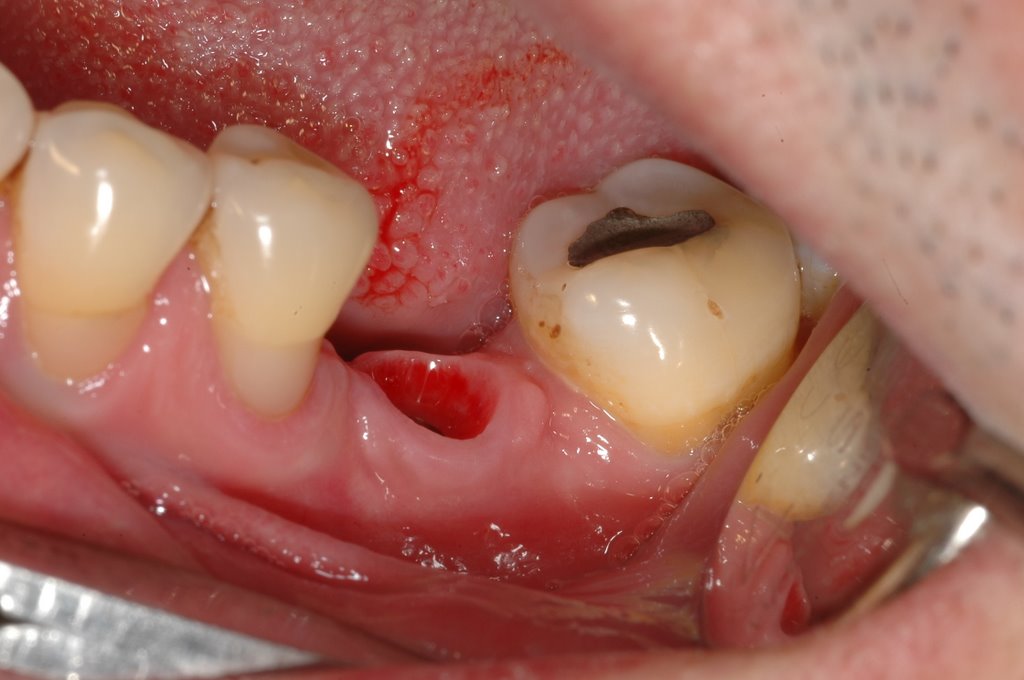
Simplified Mini-incision for Dental Implant Surgery:(Designed by Dr. Perio)
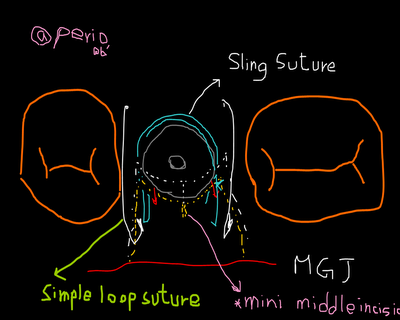
A case using SMI technique: (postSx 1wk)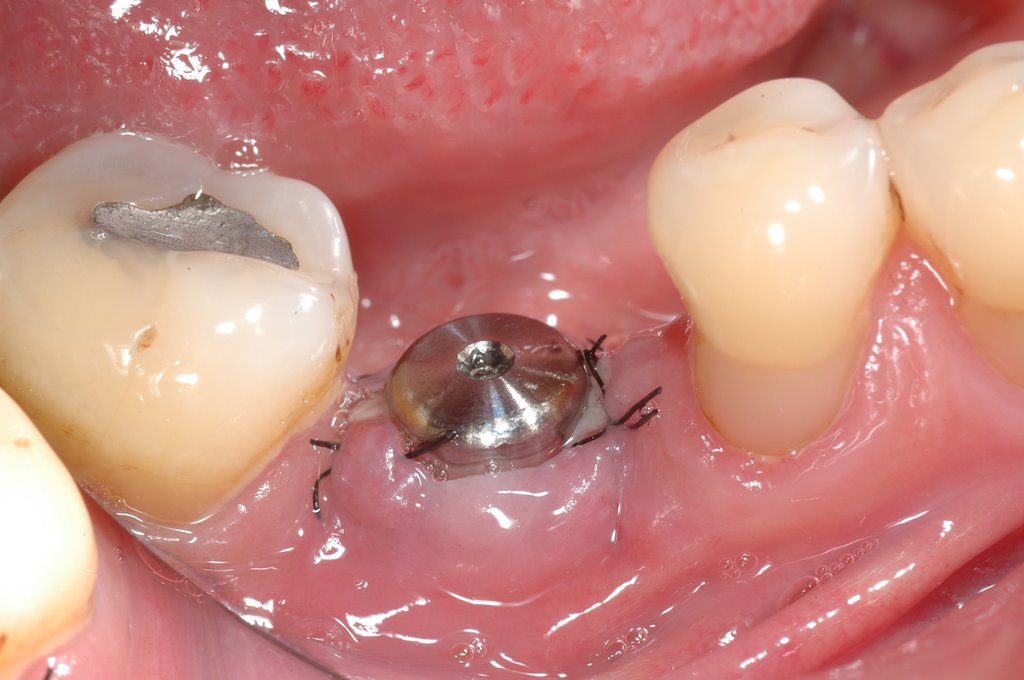

@ Final healing: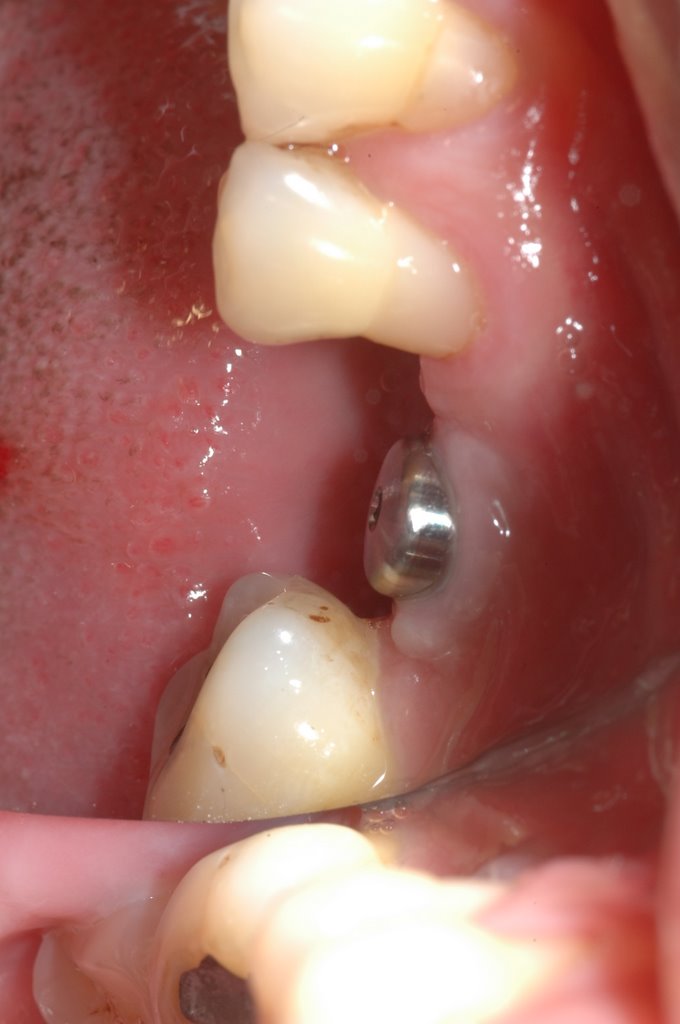
posted by Ajou Huang @ 3:39 pm
4 comments
![]()
![]()
 Localized management of sinus floor (LMSF) achieves implant placement and sinus lifting simultaneously. LMSF is a further application of the principles of the edentulous ridge expansion (ERE) technique. It comprises the dissection of a partial-thickness flap, the buccal expansion of the residual alveolar bone, and the fracture and elevation of the sinus floor with simultaneous implant placement. The selected patients, who showed no signs of sinus pathology, exhibited insufficient vertical alveolar bone dimensions for the placement of dental implants with the traditional technique. The minimal residual alveolar bone height was between 5 and 7 mm. Based on the criteria established by Albrektsson and his coworkers in 1986, the success rate of the 499 implants placed with the LMSF was 97.5%.(Code by Dr.Buschi et al;1998.Three hundred three patients were treated with 499 implants placed using the LMSF between April 1988 and December 1993)
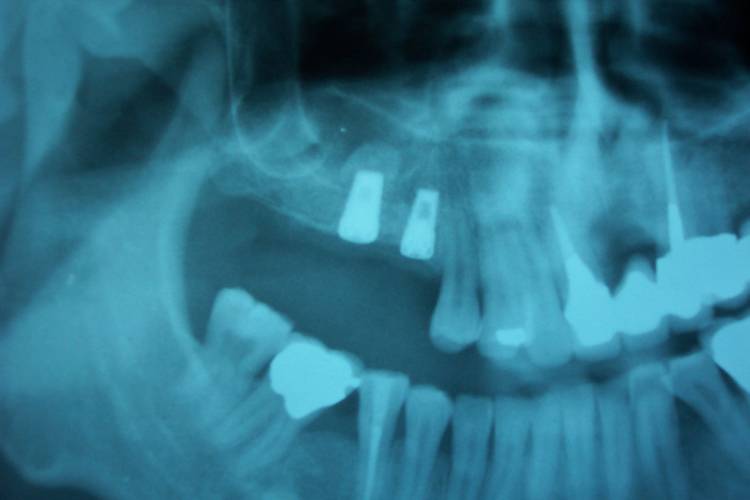
 @LMSF with Wide Implant + Bone Grafting: (Dec10,05)
PostSx 1wk>>>
 <<
<< PostSx 4 months---
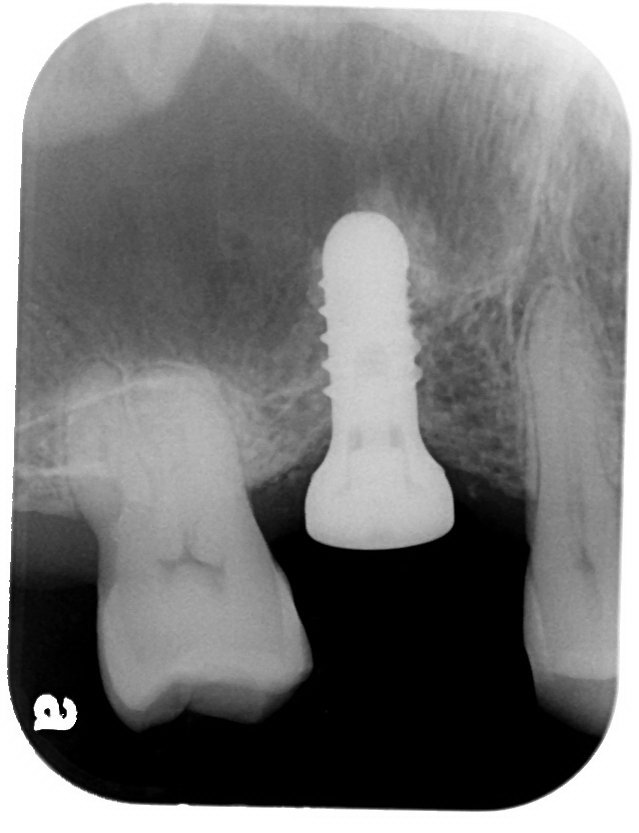
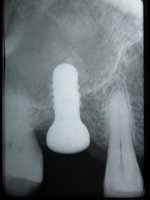
@Final restoration (May30,06')-post implantation 6 months later

#15GBR + #16LMSF (Dec05')


posted by Ajou Huang @ 9:21 am
2 comments
![]()
![]()
A tour-crazy periodontist around the World. - I like to drive VOVLE cars and put sweden-made dental implants (Nobelcare & Astra) and live with IKEA furnishes .
