Click here to join perioangroup
Click to join perioangroup
Powered by health.groups.yahoo.com
Subscribe to perioangroup
Powered by health.groups.yahoo.com
Add to Google

2006-02-28

Immediate Loading Protocols ( Dr. Balshi on OsseoNews Blog's Interview ) Part I~IV

Dr. Thomas Balshi and Dr. Glenn Wolfinger have established The Institute for Facial Esthetics in Fort Washington, Pennsylvania. They are Diplomates of the American Board of Prosthodontics and also place all their implants. They have developed surgical and prosthetic protocols for the Teeth-in-an-Hour and Teeth-in-a-Day paradigms. Their web site is: http://dentalimplants-usa.com/. Dr. Balshi has taken time out of his busy schedule to grant an interview to Osseonews.com.
Interview conducted by Gary J. Kaplowitz, DDS, MA, MEd, ABGD
Comment on this interview by visiting the OsseoNews Blog

OsseoNews (ON): Could you present an overview of the immediate loading protocols that you and Dr. Wolfinger have developed and are utilizing at the Institute of Facial Esthetics.
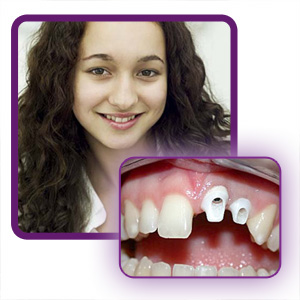
Dr. Balshi: There are several basic concepts that distinguish our protocols from the traditional approach to implant placement and restoration. In the first place, we utilize an immediate loading approach where we place the implants and subject them to loading on the day of surgery. This is our standard operating procedure in contradiction to the traditional placement followed by a waiting period where the implant fixture is undisturbed and undergoes osseointegration. We have been collecting data over two decades and have firmly established that our protocol produces a very high rate of success over the long term.
ON: Could you explain how you have encorporated computer software into your protocols.
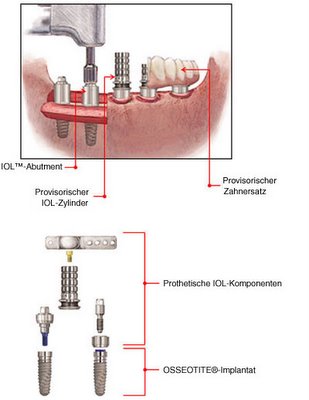
Dr. Balshi: We make a CT scan of the patient to generate a three dimensional virtual replication of the bone, soft tissue and alignment of teeth. We feed this data into our software program to generate a surgical guide, which selects the most advantageous implant sites and angulations. The surgical guide will have three guide pins, which will securely stabilize the guide stent during the drilling and placement of the implants. The stent will first be used as a guide to drill a hole for each of the guide pins. The guide pins will then be inserted through the stent and into the bone. The advantage of this technique is that the drilling and placement of the implants is very precise and accurate. The implants end up exactly where you want them, at the desired angulation and the desired occlusogingival height.
ON: How do you generate the prosthesis?
Dr. Balshi: The prosthesis is generated by the software program based on the data from bone, soft tissue and alignment of teeth. We do a CT scan of the patient at the proper vertical dimension of occlusion in centric relation position.
ON: What if the patient is already wearing removable partial dentures or complete dentures?
Dr. Balshi: We scan the patient wearing the removable dentures. We do a second scan of the removable dentures alone. All of this information that we collect enables our software program to generate a fixed-detachable partial or complete denture that will fit the abutments torqued into the implant fixtures.
ON: The permanent abutments then are also torqued down at the time of implant placement?
Dr. Balshi: The permanent abutments are torqued down permanently at the time of implant placement. They are not removed after they have been torqued down. The final form and orientation of the abutments is established at the time of implant placement.
ON: The CT scan and software program provide accurate enough data to produce a prosthesis that precisely fits the abutments?
Dr. Balshi: The prosthesis fits the abutments with great precision. The prosthesis is then inserted with screw retention.

Log back onto
osseonews.com next week for Part II of our interview with Dr. Balshi.
Comment on this interview by visiting the
OsseoNews Blog 
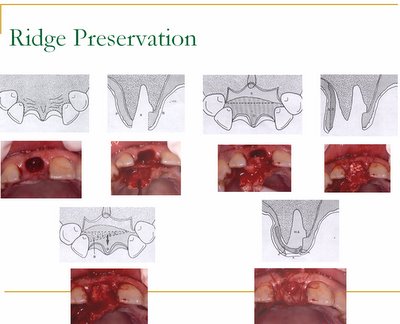
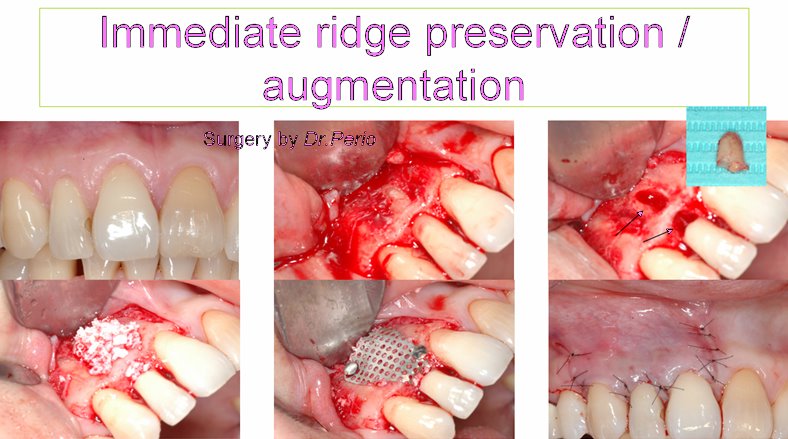
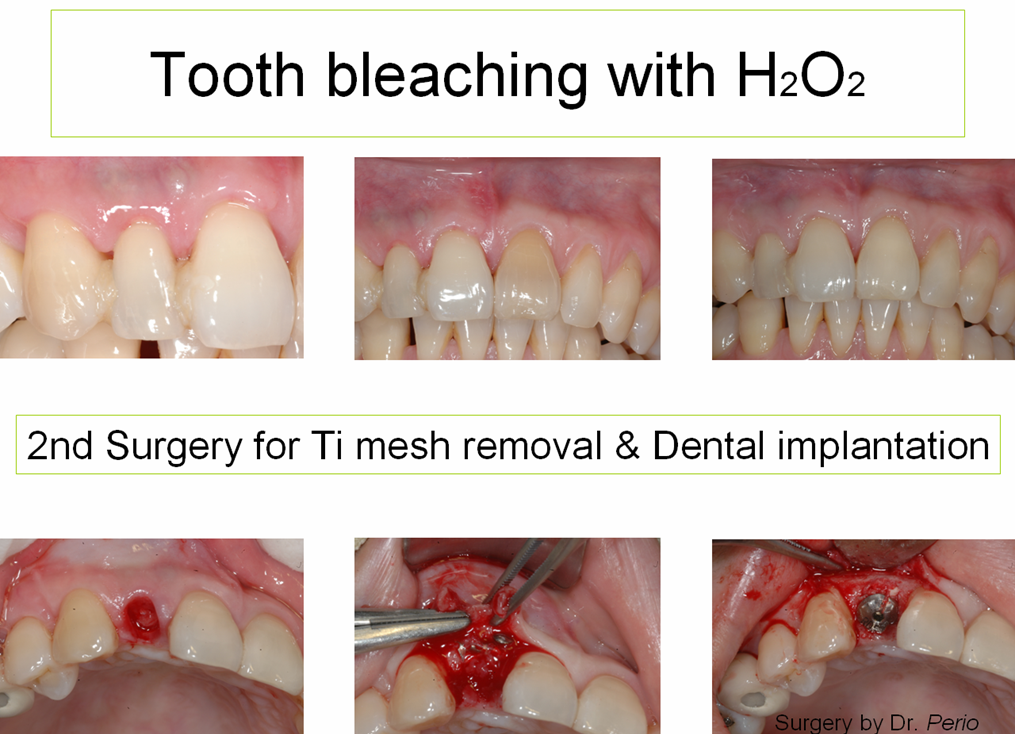
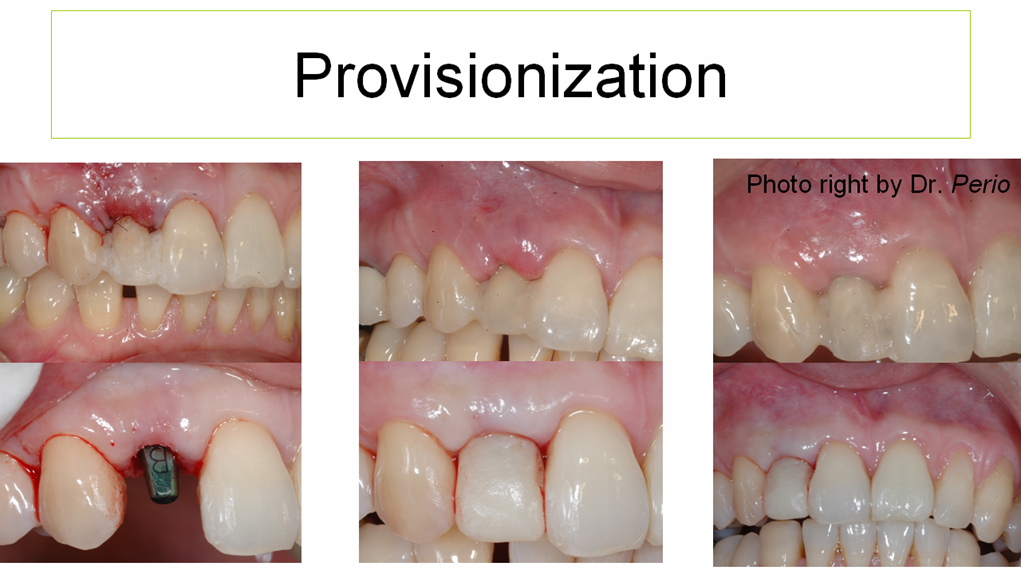
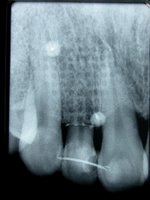
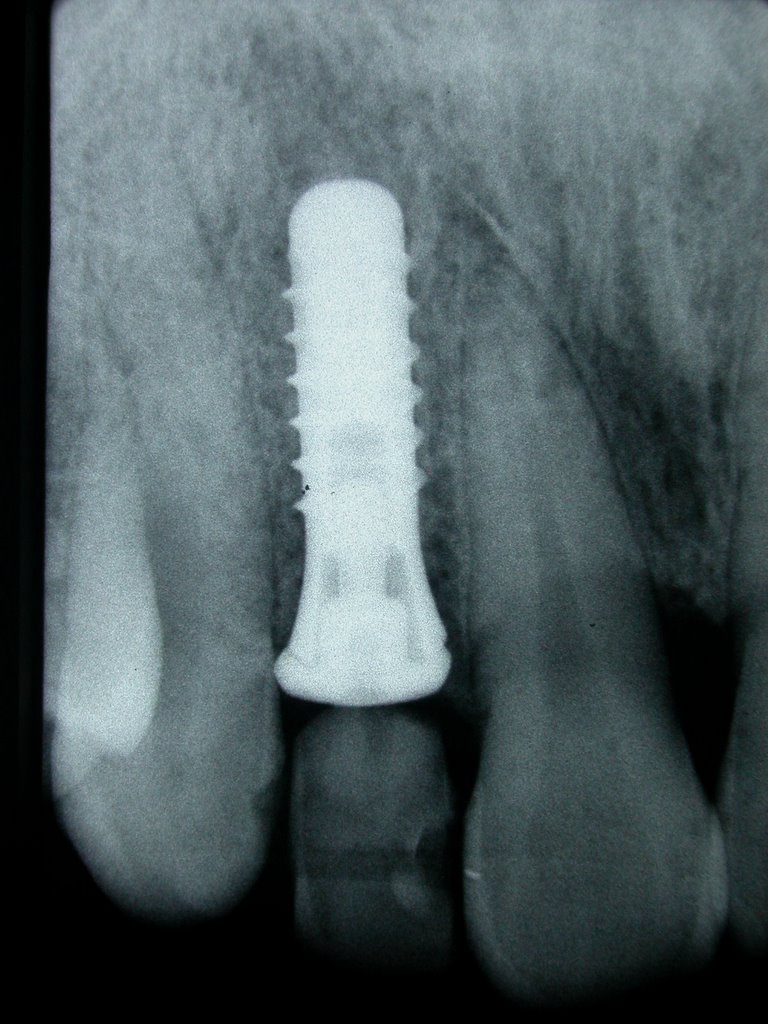
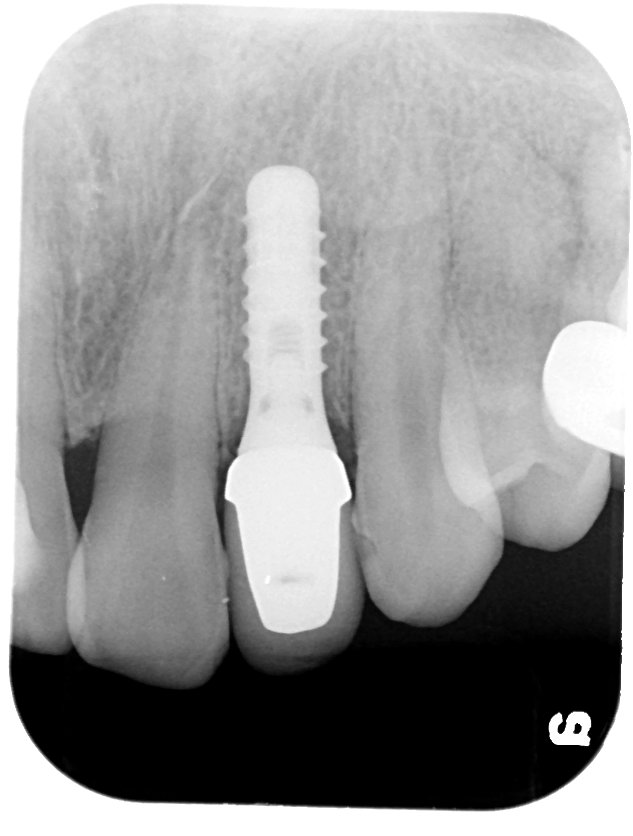
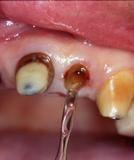
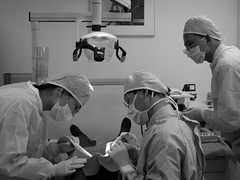
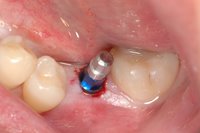
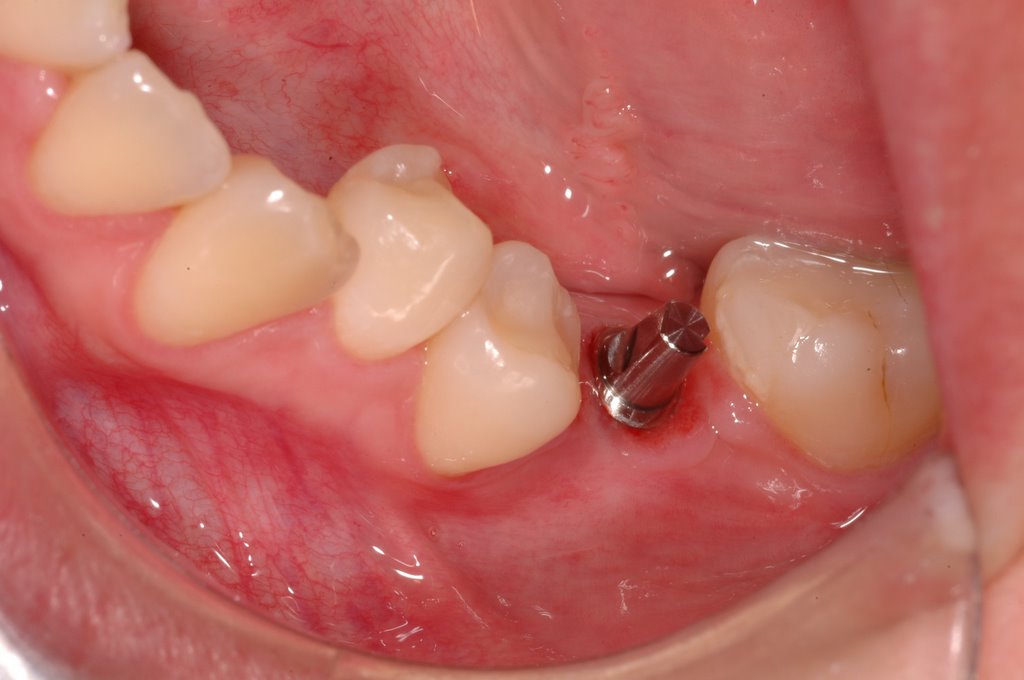
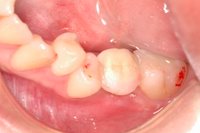
Case present by Perio: Immediate loading with provisional restoration after Molar implant insertion@

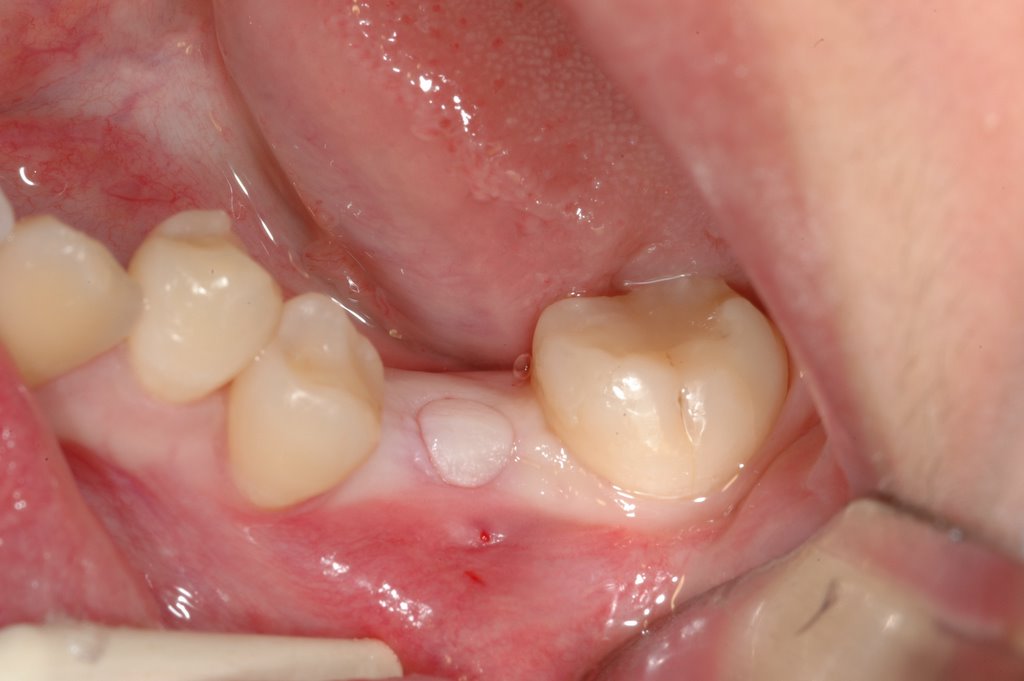
Dr. Thomas Balshi on Immediate Loading Protocols :Part II>>>
Determining Primary Stability :Part III of IV

2006-02-22

Staged Approach with Ridge preservation / augmentation + Esthetic dental implantation

How can a ridge be preserved when the tooth it contains an advanced periodontal disease?

Nemcovsky CE, Serfaty V. Alveolar Ridge Preservation Following Extraction of Maxillary Anterior Teeth. Report on 23 Consecutive Cases. J. Periodontol. 1996; 67(4):390-395.


Commentary: There is no doubt that post-extraction bone loss is a serious problem for periodontally involved teeth. However, the use of hydroxyapatite to augment ridges and repair periodontal defects has been received with mixed reviews in the periodontal community. Some clinicians swear by it and others refuse to use it. One of the major criticisms has been its motility and migrative tendencies when not placed properly. The authors in this case report suggest that the deeper flap secures the HA in place to reduce migration. According to these investigators, packing the alveolus with HA may indeed preserve alveolar bone; but the limitation of not being able to place implants in sites treated so, make it an irreversible process. Clinicians need to consider where a patient is going to be long term and other author have suggested the use of guided tissue regeneration as ridge maintenance procedure. Hence, it is critical to understand where a patient wants to go with treatment. If finances are a concern, they may not always be. The practitioner must then consider which service is really best for the long-term prognosis of the patient. A maintained ridge is great but not if it requires a future corrective procedure for patients who may have other options available to them in the future. Nonetheless, this preservation option may be well suited to many patients.

**A clinical case of long-term root resorption, ridge preservation with GBR technique and esthetic dental implantation and restoration later! --- Surgery and Prosthetic reconstruction by Dr. Perio


* R't piture is pre-extraction ; L't picture is final restoration (total 1 year!)

#Apical Xray checkup: (pre-extraction;post-augmentation;implantation & final restoration!)


@ Ti Mesh application in GBR: More....
@ Implant esthetic with all-ceramic crown-Cercon: More...

2006-02-17

The Mini-Screw as an Orthodontic Anchoring

The use of osseointegrated implants and mini implants has become a valid alternative to those methods normally employed to manage anchorage in modern orthodontics. Most clinical procedures aimed at providing adequate anchorage require patient co-operation, some degree of discomfort as well as prolonged chair time for the orthodontist. Over the last few years though, a great deal of experience has been gained regarding the use of Mini Implants to obtain bone anchorage and this particular therapeutic optionhas proved to be extremely reliable and stable. In recent times, osseointegrated dental implants have been used for orthodontic anchorage; these however have turned out to present the Orthodontist with some disadvantages:the difficulty of choosing the right implant positioning in individual patients, the necessity of waiting for osseointegration to occur before any force can succesfully be applied, an extremely invasive removal procedure and, last but not least,excessive costs involved. The Mini Screw Implants we use are made of surgical grade stainless steel, therefore they do not require osseointegration to be able to perform. They allow immediate loading and it is extremely easy to remove them. We do however recommend that the Orthodontist allows approximately 2weeks for the soft tissues to heal before any forces areapplied. Mini Implants of reduced diameter are available for insertion in any desired point, including inter-radicular spaces. The main indications for the use of Mini Implants are: 1 – Intra-arch extrusion in the anterior sections; 2 – Intra-arch intrusion in the posterior sections; 3 – Surgical disinclusions; 4 – Orthodontic anchorage after extractions; 5 – Orthodontic anchorage to support distalization

Free PDF Articles about orthodontic mini screw:

1.A Radiographic Evaluation of the Availability of Bone for Placement of Miniscrews

2.Lever-arm and Mini-implant System for Anterior Torque Control during Retraction in Lingual Orthodontic Treatment

3.Group Distal Movement of Teeth Using Microscrew Implant Anchorage

4.Maxillary Molar Intrusion with Fixed Appliances and Mini-implant Anchorage Studied in Three Dimensions

5.Intrusion of the Overerupted Upper Left First and Second Molars by Mini-implants with Partial-Fixed Orthodontic Appliances: A Case Report

@Discussion from Osseonews blog

2006-02-14

Atraumatic Extraction with Periotome before Dental Implantation


Eliminate the fibrous attachment thru cutting rather than tearing! The NEW Osseous Technologies of America (OTA) Periotomes offer a completely new approach to Atraumatic exodontia.
  1. For Atraumatic Extractions!
  2. Minimizes Damage to Alveolar Bone
  3. Thick and Thin Flat Blad and Angled Blade
  4. For Root Tips and For Wedding Interproximal Spaces
  5. One-Piece Construction Allows Apical Tapping with a Mallet

A tooth removal that does not comprimise the extraction site is the ideal
precondition for a predictable immediate implant placement and a successful nonloaded temporization. Various forms (especally with the Periotome =
3 changeable inserts)of atraumatic tooth removal are used, depending on the specific clinical case.

Dr. Becker's Methods for Atraumatic Extraction(Taiwan's Lecture,2005):
  1. Sever PDL with blade
  2. Hu fridy Molt CM2 curette
  3. Thin pointed diamond bur
  4. Forceps rotating
  5. Be Patient

**Ridge Dimension Changes after tooth extraction

Araujo and Lindhe' studies series (2003~2005)

2006-02-03

"Platform Switch" To Preserve Crestal Bone-A new concept in Dental Impant


Implant neck (crest module) :The highest bone stresses have been reported to be concentrated in the cortical bone in the region of the implant neck as demonstrated in Finite Element Analysis (FEA) of loaded implants with or without superstructure. This is consistent with findings from experimentsand clinical studies that demonstrated that bone loss begins around the implant neck. It has been suggested that the implant neck should be smooth/ polished, supporting the belief that the crest module should not be designed for load bearing. However, significant loss of crestal bone has been reported for implants with 3 mm long smooth polished necks. Following the placement of an endosseous implant,there is an initial bone modeling/ remodeling during healingand the establishment of a biological seal around the neck of the implant. This bone modeling for biologic seal is acombination of a 1.0-1.5 mm junctional epithelium and a 1.5-2.0 mm connective tissue region that is established superior to the alveolar crest. Evidence from in vivo studies supports the observation of establishment of a biologic seal. Hammerle et al did not observe crestal bone to be maintained above the junction of the Titanium Plasma-sprayed Surface (TPS) and machined neck with ITI implant system,and they concluded that polished implant collars do not integrate, as Buser et al demonstrated in his mini-pigmodel. Similarly, bone modeling occurs to the level where the porous surface begins, with the Endopore implants. Disuse atrophy, due to sub-normal mechanical stimulation, has been speculated to be an etiologic factor for this marginal bone resorption. It appears that when the implant heads have been placed at the crest of the alveolar bone cortical bone will change in the process of establishing a biologic width, and that this modeling/ remodeling behavior typically occurs to the level where the screw threads start and/ or the roughened surface topography begins. Implant design should therefore take into consideration the bone remodeling in establishingthe biological width. The use of a roughened crest module that is level with the crest of the bone may providea positive stress stimulus to the bone and decrease bone loss in this area, while the smooth part of the crestal module, above the level of crestal bone, should provide an area for connective and epithelial tissue contact. (Adapted from a review article from U Michigan Dr. Wang)

The concept was found accidentally !


The Only Way To Provide For Your Patients Is To Adapt.

With the increasing demands for implant therapy, the Provide™ Restorative System offers both surgical and restorative clinicians more options and greater flexibilityto meet these demands and better serve patients. Provide Abutments give implant surgeons four collar height options for unmatched surgical flexibility. In addition, because the implant is placed at bone level and not transgingivally, the final crown margin is not pre-determined at the time of surgery and there is no need to prepare the implant if or when the tissue recedes.

Certain™QuickSeat™Connection
Snap-Fit Impression Components
Superior Surgical And Restorative Flexibility

Surgical Flexibility
1.No Need To Determine Final Crown MarginAt The Time Of Surgery
2.Multiple Collar Heights (1, 2, 3 and 4mm)
3. No Need To Prepare Implant Due To Tissue Recession
4.Use In A One- Or Two-Stage Surgical Protocol
5.Opportunity To Platform Switch To Preserve Crestal Bone
6.Ability To Change Abutment At A Later Date


The Prevailing Biologic Width Hypothesis:

>>>Another system for "Paltform Switch" concept: Astra
The system is based on three core features: Conical Seal Design™ abutment connection, the original MicroThread™ implant neck and the unique OsseoSpeed™ surface